How to Make a Weighted Blanket
Weighted blanket sales have increased in recent years as more and more people discover their calming effects. If you like a challenge and you have a decent level of sewing skills, you might be interested in making your own weighted blanket.
We’ll review the construction and potential health benefits of weighted blankets before moving on to a step-by-step guide on how to construct a do-it-yourself (DIY) weighted blanket.
What Is a Weighted Blanket?
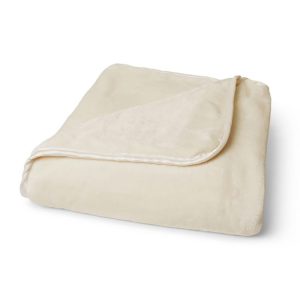
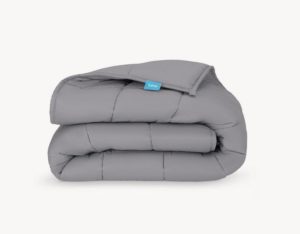
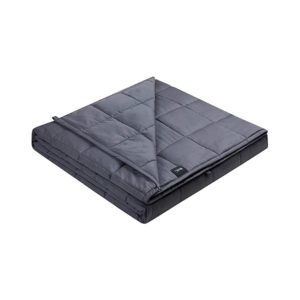
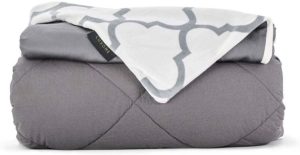
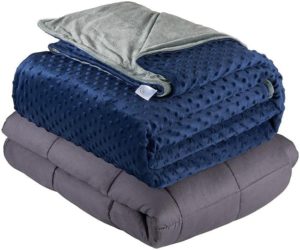
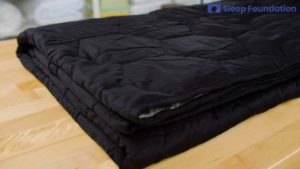
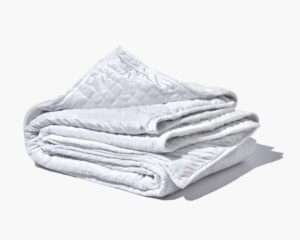
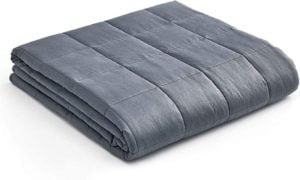
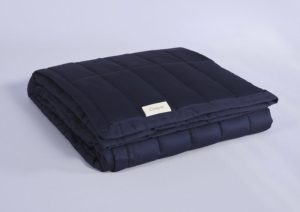
A weighted blanket is designed to provide even, gentle compression for a therapeutic effect. Weighted blankets typically contain pockets with ball bearings, beads, pellets, or heavy fabrics to distribute pressure evenly over the body. The total weight of a weighted blanket usually ranges between 5 and 30 pounds.
Weighted blankets function via deep pressure stimulation, a therapeutic technique used to reduce anxiety and restlessness. Manufacturers claim that weighted blankets may quash stress hormones and stimulate the production of serotonin and melatonin, hormones that help lay the ground for better sleep. A growing body of research suggests that weighted blankets may help soothe people with attention-deficit/hyperactivity disorder (ADHD) and autism spectrum disorders.
Weighted blankets are not appropriate for young children, because they can cause suffocation and potential leaks in the fill can present a choking hazard. Experts also recommend against using weighted blankets if you have sleep apnea, other respiratory illnesses, or circulatory conditions. Always consult a doctor if you’re not sure whether a weighted blanket is safe for you.
How to Make a Weighted Blanket
Constructing a weighted blanket is similar to sewing a regular blanket, but with extra fill to provide the weight. The process isn’t too difficult but it does require a sewing machine, some tailoring skills, and time.
The cost to purchase a weighted blanket can be quite steep, with some models costing up to $300. Considering the high potential price-point, some people might find it more feasible to make one. The total cost of the fabric, fill, and other materials is usually less than the price of most new blankets. Making your own weighted blanket is also a fun challenge, and it gives you the opportunity to personalize the blanket with your favorite fill, material, and design.
Materials & Tools
The three main components of a weighted blanket are the fabric, the fill, and the batting:
- Fabric: When choosing your fabric, look for a soft, durable fabric that can withstand the extra weight of the blanket, yet one that is easy to clean. Common choices include cotton, fleece, flannel, and microfiber. Breathable fabrics may be a better choice for hot sleepers, while minky fabrics may be better for those who live in colder climates. Sewing or purchasing a removable cover can help prolong the blanket’s lifespan. If you’re making the blanket for someone with sensory sensitivities, check the fabrics with them first.
- Fill: You can usually find weighted blanket fills in craft stores or online. Plastic polycarbonate beads are one of the most popular weighted blanket fill materials because they are affordable, easily available, non-toxic, and easy to wash. Also popular are micro glass beads, which are heavier, durable, and also easy to wash, but more expensive. Price- or environmentally conscious sleepers might be drawn to grains like lavender or buckwheat. These offer a relaxing feel but they are not as heavy and they cannot be washed.
- Batting: Along with the stones or beads, most people also add stuffing or batting to buffer the weights. The simplest option is to use batting, which is easier to work with when you are sewing together the blanket’s components.
Instructions
These steps for constructing a weighted blanket primarily apply to blankets with added weights, although extra layers of fabric can substitute for weighted fill.
1. Determine how much the blanket will weigh. Weighted blankets can weigh anywhere between 5% and 12% of the user’s body weight, but most people find that the sweet spot is around 10%. Larger blankets need more weight in total to provide the same pressure to the body.
Think about whom the blanket is intended for and how heavy it needs to be for the user to see effects. The intended user should be capable of shifting the blanket without help, although you can make the blanket a little heavier if it will only be used on the lap. Don’t forget to factor in the weight of the material when calculating the overall weight of the blanket.
2. Decide on the blanket’s dimensions. The blanket should be just a little wider and a little longer than your body, to facilitate movement under the blanket without causing it to slip off the side of the bed. Calculate that you’ll need squares that are 3 to 5 inches wide, plus an extra inch around the perimeter for the seams. It’s a good idea to wash, dry, and iron your fabric before measuring it, especially if you’ve chosen a material that shrinks easily, such as cotton.
3. Gather all your materials and tools. To make your weighted blanket, you’ll need:
- Fabric: The front and back of the blanket will consist of two equal pieces of fabric, cut according to the desired dimensions.
- Fill: Gather enough fill to produce the appropriate weight for the chosen dimensions, plus a little extra as working with fill can be messy.
- Batting: If you want the blanket to feel soft on both sides, you’ll need two pieces of batting. Cut the batting slightly smaller than the outer two pieces.
- Sewing Supplies: Additional necessary tools include a sewing machine, strong thread and needle, fabric tape and pencil, measuring tape, scale, funnel, scissors, and pins.
4. Pin together the two pieces of fabric with the insides facing out and sew them together on their left and right edges. Flip the fabrics right side out and insert the batting between the two pieces of fabric. Stitch a horizontal center seam so that the blanket has one top and one bottom pouch.
5. Create vertical columns in the blanket by dividing the entire blanket into an equal number of columns 3-5 inches wide using the fabric pencil. Take extra care while sewing these columns, as they will become the compartments that hold the weights. Draw horizontal lines as well to create evenly sized squares.
6. Calculate the amount of fill you’ll need per square by dividing the total amount of fill by the number of squares. Measure the weights with the scale, choose a side of the blanket to start with, and use a funnel to insert one portion of fill into each column. If you’re using a delicate fabric, you may choose to sew the portions of weight into small fabric bags for added security.
7. Working horizontally, pin a line above each filled row and sew the compartments shut line by line, using small stitches so the fill doesn’t leak into a neighboring compartment. Use the pinned line to keep the fill away from your needle so it doesn’t break.
8. Once you’ve closed all the compartments, close the blanket with a top stitch and give it a thorough inspection to catch any loose seams or other problems.
Pros & Cons of Making Your Own Weighted Blanket
Making your own weighted blanket is no small endeavor, but many people find it’s worth the extra time and effort to end up with a beautiful, personalized blanket that you’ll be able to enjoy for years. Before embarking on your project, you may want to weigh the pros and cons:
| Pros | Cons |
|---|---|
| Cost: Most weighted blankets cost between $100-$300, depending on the size. Even when considering the cost of fabric and weights, the DIY weighted blanket will usually save you money. Personalization: Making your own weighted blanket allows you to choose your preferred fill, material, design, weight, and dimensions. | Difficulty: Making a weighted blanket requires a moderate level of sewing skills, time, and access to a sewing machine. Durability: Commercial weighted blankets tend to be built to last, but your homemade blanket might not stand up to long-term use depending on the materials you used. |
If you prefer to purchase an already-made weighted blanket, there is a wide range of options available in every price-point. Choose from the many designs to find a weighted blanket that’s right for you.

Still have questions? Ask our community!
Join our Sleep Care Community — a trusted hub of sleep health professionals, product specialists, and people just like you. Whether you need expert sleep advice for your insomnia or you’re searching for the perfect mattress, we’ve got you covered. Get personalized guidance from the experts who know sleep best.


